Today, class, we'll learn to add Disqus commenting system to our shop! See it in action here: Large Ornament Review It's pretty easy to install and maintenance/moderation is just as easy, if not more so. The only trouble I've had so far is that it's difficult to customize the appearance of it via CSS. That's not a huge deal for me, as they offer a color scheme that works with my shop; for others it may be trouble.
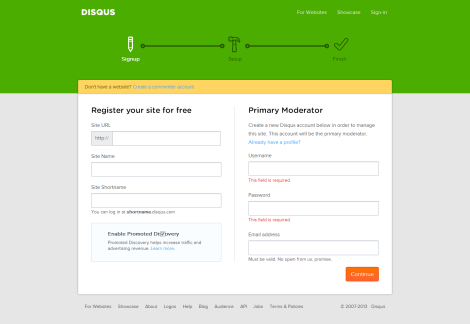
First step, sign yourself up! On www.disqus.com you need to select the "For Websites" link, then "Sign Up Free", and follow the prompts. It took me less than 5 minutes, even with a tubby kitty trying to lie on my keyboard.
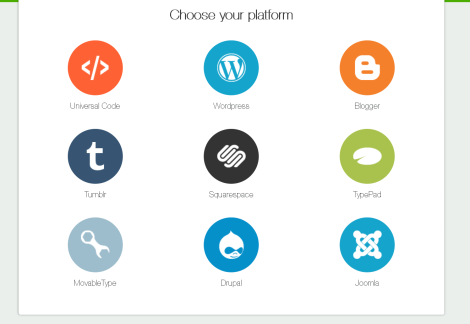
Once that's done they ask you to select what platform you would like code for. You'll want to pick the "Universal Code" option. It is worth noting, though, that you can integrate this with just about anything on the web! Spiffy.
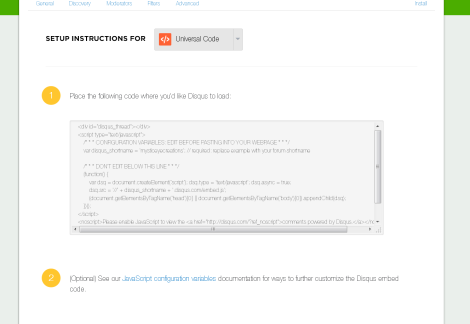
Awesome 'possum. Now, copy that code shown in the first box. Don't worry about trying to customize the appearance first, unless you like playing with java script; that's after this.
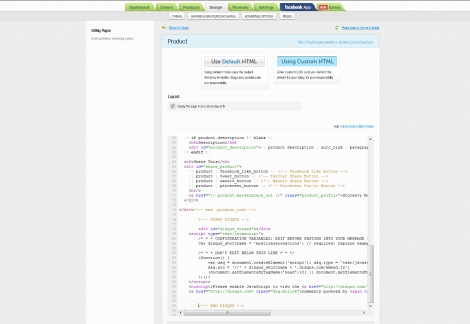
Open a new browser tab or window and get to your Storenvy dashboard. (In case you didn't know, you can type Yourstorename.storenvy.com/admin to get there!) Then go to the Design tab, pick Pages or Edit HTML, and select the template you want. I've chosen the Product template, so people can leave individual product reviews or questions, like you see on the big box stores' websites. Place your code where you would like it to appear. Keep in mind that it will expand to the width of whatever div it is in. (Mine is placed at the very bottom, outside of all other containers, so that it fills the product page width.) Go ahead and play with it, I'll wait here.
Back? Great. Now, let's play with the looks of it a bit. Go back to your Disqus admin panel, and go to the Settings tab at the far right.
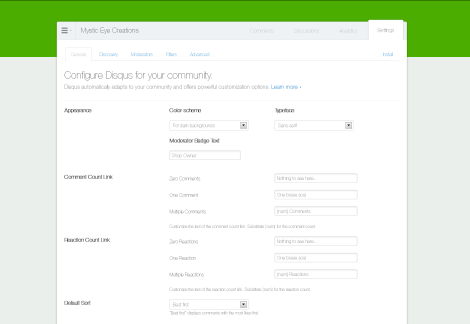
This is where you select a light or dark color scheme for your comments tool. It's default setting is "auto" so it determines the scheme for you. My background is a gradient, though, so it got it wrong - I'm assuming those with a picture background may have the same issue. If it doesn't look right in your shop, change the setting here. Selecting dark makes all text white, selecting light makes all text black. Then, select "Advanced" to set the default graphic when a guest (someone without a Disqus account) posts. Mine is our shop button, but you could pick anything, or leave the generic anonymous graphic they supply.
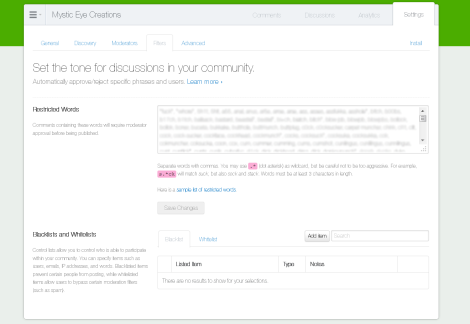
Now let's add some filters. Chances are you won't want a bunch of cussing, or even people advertising their own shops, to show up in your store. Still under Settings, select the filters tab. Here you can add words to block - I just copy and pasted their suggested list of words. You can also set it do posts with links need approval from you before they show. There's a checkbox for that just below. Don't forget to hit save!
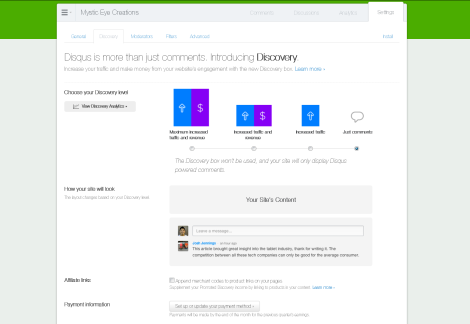
Lastly, lets go over to the "Discovery" tab. Discovery is ads and additional traffic, but it does clutter your page a bit. Feel free to leave this as-is or adjust to your preferences. I've removed it all and kept it to the "Just Comments" option, and if you'd like to do that too, don't forget to uncheck "Affiliate links" below.
See? Nothin' to it. Feel free to leave questions in the comments here!

Ooooh that is so handy! Thank you so much, I will try to add it to my store too ^_^
ReplyDelete