
No more excuses. With our photography series from Melanie, all of these issues will be addressed - anyone can get amazing product photos. It just takes a lot of practice, and maybe a little photo editing to get your photos to the next level. Today, we're showing you how to turn a door, hand and product into an amazing photo using photo editing software!
This post is brought to you from Melanie of Violet's Buds. Melanie has Bachelors of Science in Photography and provides product photography advice and services to entrepreneurs.
Check out this post for a list of 3 free photo editing programs. We will be using Photoshop in this post but many of these editing programs (that are free) have similar functions so you will be able to achieve the exact same result using one of them if you don't have photoshop.
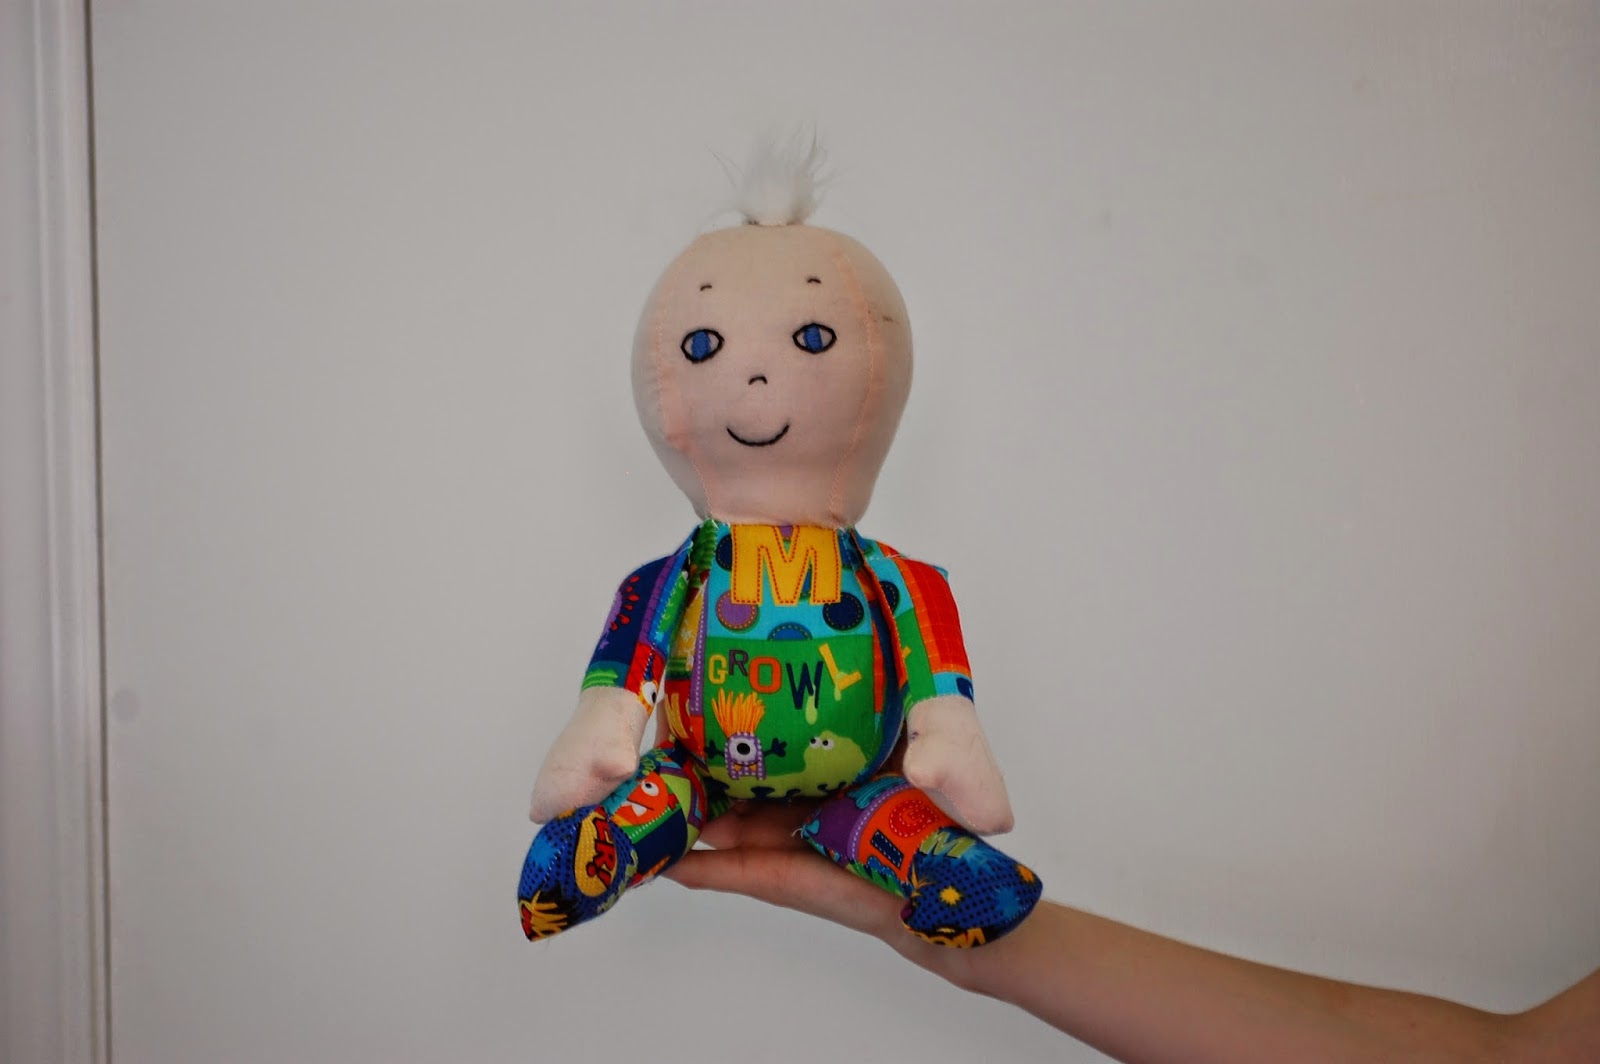
Here is the image - straight from the camera. The subject is adequately lit, the background nice and smooth, but everything seems flat and dull, a little dark, and you can see the frame of the door in the photo. Let's fix these things!
Using your preferred editing software, go into the Curves menu. You can typically access this by pressing CTRL+M in the editing program.

Using this tool in RGB mode, you can adjust the brightness and the contrast by moving the shape of the line. Basically, the steeper the line, the higher the contrast. Moving the center curve of the line will change the brightness. Experiment with this until your image looks well lit, but not over-exposed - the colors should look on your screen as they do to your eye when looking at the product in natural light!

After adjusting in RGB mode, you can then adjust the individual Red, Green, or Blue channels if needed, like when you shoot a red dress & it makes the white background have a pink tinge. Starting at the center point, moving it up or down will add or subtract the color of that channel. I find that its best to adjust in the Red and Blue channels for most photos.

It can take some getting used to, so give yourself time to experiment. If you mess up, you can always cancel and start over. One great way to see if you have edited too much, is to look away from your screen briefly then glance back. If your first reaction is "Whoa! That's too red!" then you know you need to make further adjustments. To reverse your previous actions in the photo editing software, press CTRL+Z.

When you are happy with the brightness, contrast, and color of the photo, crop it to the size and shape that will work best for your product listings. On most e-commerce platforms this is a simple square.
As you can see, with a few adjustments in the Curves menu, and a square crop, this photo is now a product situated in front of a plain white background - you can't even tell it's a door! - ready for product listing and to be shared on social media!

Whatever your situation, there is always a way to get amazing product photos. The formula is often just lots of experimenting with lighting & backgrounds + hundreds of pictures + hours of playing with photo editing software until equaling beautiful product photos!
Check back every Friday for more tips & tricks to make your photos the best they can be!
I don't craft, or sell, but this is good to know for any photo!
ReplyDeleteHmm... I've used other adjustment options in Photoshop, but never curves. Have to check it out next time! Thanks Melanie!
ReplyDeletewhat about items that arent good to hold - hats, scarves... of if we dont have a door thats wide enough like that, or in a well lit spot? course lighting can be edited a bit, but need something decent to work off of.
ReplyDelete